 Engagements
Creating an Engagement
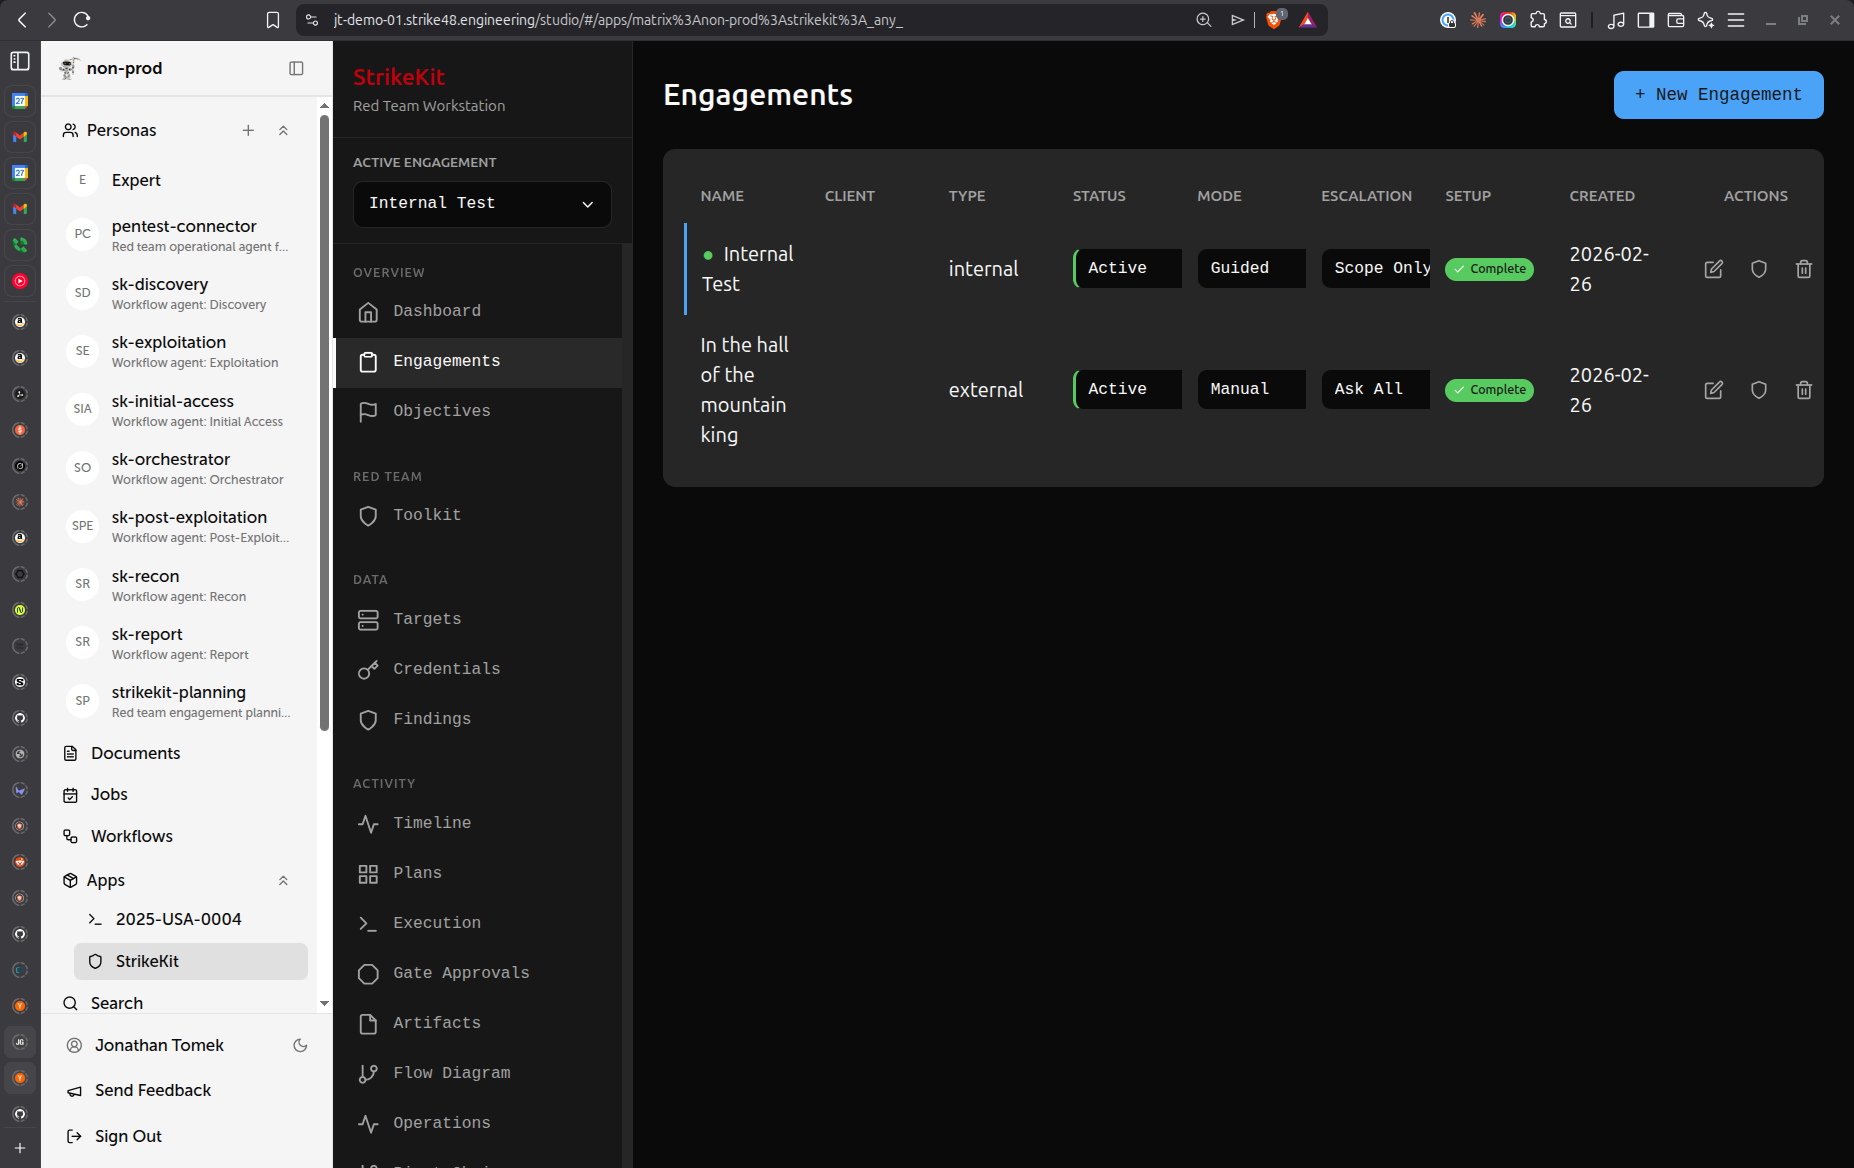 Engagement management showing all projects
- Navigate to Headquarters → Engagements
- Click Create Engagement
- Fill in the required fields:
Required Fields
- Name: Short identifier for the engagement (e.g., "ACME Corp Q1 2026")
- Client: Client organization name
- Type: Engagement methodology
- Internal Network Pentest
- External Pentest
- Web Application Testing
- Social Engineering
- Physical Security Assessment
- Start Date: When the engagement begins
- End Date: When the engagement ends
Important Fields
-
Scope: Define what's in scope
- IP address ranges (e.g.,
10.0.0.0/8) - Domain names (e.g.,
*.example.com) - Specific systems or applications
- Geographic locations (for physical assessments)
- IP address ranges (e.g.,
-
Rules of Engagement (ROE): Constraints and guidelines
- Hours of operation (e.g., "9am-5pm Monday-Friday")
- Prohibited actions (e.g., "No DoS attacks")
- Notification requirements (e.g., "Notify before privilege escalation")
- Data handling restrictions
- Emergency contacts
Engagement Status Workflow
Engagements progress through distinct phases:
- Planning: Initial setup and preparation
- Active: Operations in progress
- Paused: Temporarily suspended (client request, holidays)
- Complete: Operations finished, report pending
- Archived: Final report delivered, engagement closed
To change engagement status, edit the engagement and select a new status from the dropdown.
Selecting an Active Engagement
Use the engagement selector at the top of the sidebar to switch between engagements:
- Click the dropdown labeled "Active Engagement"
- Select an engagement from the list
- Engagement-specific views become available
When no engagement is selected, views requiring an active engagement are disabled.
Engagement Details
Click on an engagement to view:
- Overview: Status, dates, client info
- Scope: What's in scope and out of scope
- ROE: Rules and constraints
- Statistics:
- Target count
- Findings by severity
- Credentials discovered
- Evidence collected
- Activities performed
Best Practices
Scope Definition
Be specific and comprehensive:
Good:
- IP ranges: 192.168.1.0/24, 10.0.0.0/16
- Domains: *.example.com, api.example.com
- Exclusions: 192.168.1.100 (production DB)

Avoid:
- "Client network"
- "Everything"
Rules of Engagement
Document clearly to avoid misunderstandings:
Good:
- Testing hours: Monday-Friday 9am-5pm EST
- Notify client before: privilege escalation, data exfiltration
- Prohibited: DoS attacks, physical access without escort
- Emergency contact: security@example.com, +1-555-0100

Avoid:
- "Standard ROE"
- "Ask client first"
Engagement Naming
Use consistent naming conventions:
Examples:
- "ACME Corp - External Pentest - Q1 2026"
- "MegaCorp - Internal Assessment - Jan 2026"
- "StartupXYZ - Web App Test - Sprint 5"
Engagement Templates
Speed up engagement creation with templates:
- Create an engagement manually with common settings
- Navigate to Headquarters → Templates
- Create a template based on the engagement
- Templates can include:
- Pre-defined objectives
- Common checklists
- Standard target categories
- Report templates
Multiple Engagements
StrikeKit supports running multiple engagements simultaneously:
- Each engagement has isolated data (targets, findings, credentials)
- Switch between engagements using the selector
- Dashboard shows metrics for the active engagement only
- Timeline and Kill Chain are engagement-specific
Archiving Engagements
When an engagement is complete and the final report is delivered:
- Change status to Archived
- Archived engagements:
- No longer appear in the active list by default
- Data is retained in the database
- Can be restored if needed
- Useful for historical reference
Common Workflows
Starting a New Engagement
- Create engagement with scope and ROE
- Set status to Planning
- Define objectives (Mission → Objectives)
- Review methodology checklists
- Change status to Active when ready to begin operations
Pausing an Engagement
If operations need to stop temporarily:
- Change status to Paused
- Add notes explaining why (client request, holiday, scope change)
- Document where you left off in Reporting → Notes
- Resume by changing status back to Active
Completing an Engagement
When operations are finished:
- Change status to Complete
- Finalize all findings
- Generate reports
- Deliver to client
- Change status to Archived after final delivery
Tips
- Set realistic dates: Account for holidays, client availability, and potential extensions
- Update ROE as needed: If scope changes, update the engagement immediately
- Use descriptive names: Make it easy to identify engagements months later
- Document exceptions: If something unusual happens, note it in the engagement description
- Review statistics regularly: Use the overview to track progress toward objectives
Related Features
- Objectives - Define engagement goals
- Planning - AI-assisted engagement planning
- Dashboard - Engagement metrics
- Reports - Generate deliverables
Next Steps
After creating your engagement:
- Set Objectives - Define what you want to achieve
- Use Planning Assistant - Get AI-guided planning help
- Review Checklists - Understand methodology steps
- Add Targets - Begin identifying systems to test
- Start Execution - Begin active operations
Related Documentation:
- Workflow Guide - Complete engagement workflow
- Dashboard - Track engagement metrics
- Reports - Generate deliverables at engagement end
Video Tutorial
📹 Coming Soon: Complete walkthrough of creating and managing engagements
Quick Demo
🎬 Coming Soon: 30-second GIF showing engagement creation